If you want to use your homemade pie crust, I don’t see why you couldn’t. But the beauty of this recipe is in the absolute simplicity. Just a few store bought ingredients is all it takes to get this mini pie show on the road. Mini pies are becoming very popular for wedding showers, baby showers, and even weddings themselves, as well as many other special events. Keep this recipe in your back pocket to try out the next time you need to please a crowd’s sweet tooth. The users at Tablespoon really know how to make baking easy as pie.
Ingredients
2 2-count packages of refrigerated pie crust
4 cups or 2 cans of pie filling
1 egg, whisked
Instructions
Preheat oven to 350°F. Grease 12 muffin cups with cooking spray.
Roll out a single pie crust onto a flat surface. Using a large cookie cutter or any circular lid, cut out a 4-inch circle of dough. Press each dough circle into the bottom of a muffin tin cup, leaving a tiny rim of dough sticking out at the top. Repeat with remaining dough to fill all 12 muffin cups.
Fill each cup until nearly full, about 1/4 cup, with pie filling.
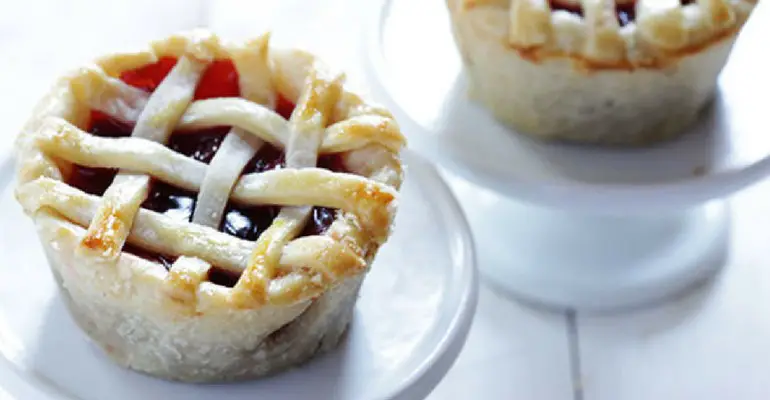
Use the remaining dough to create a top crust to cover each pie. To make a lattice crust, use a knife or pizza cutter to cut out thin strips of dough, then lace together to form a lattice. To make a standard crust, cut out a circle of dough just large enough to cover the top of the bottom crust. Cut a few small slits into the crust. Then using your fingers, gently press the top crust onto the bottom crust until they stick together and no gaps remain.
Use a pastry brush to brush the tops of each pie with the whisked egg. Then bake 30 to 40 minutes, or until the crust is lightly golden and the filling begins to bubble.
Remove from the oven and let cool for at least 15 minutes. Then very carefully with a knife, loosen the edges of each pie and gently lift out from the muffin tin. Serve immediately or cover and refrigerate.
USE RED NEXT PAGE LINK BELOW
NEXT
Quick tip: These mini pies could easily be made even tinier and cuter – just use a mini cupcake pan instead of a muffin tin.
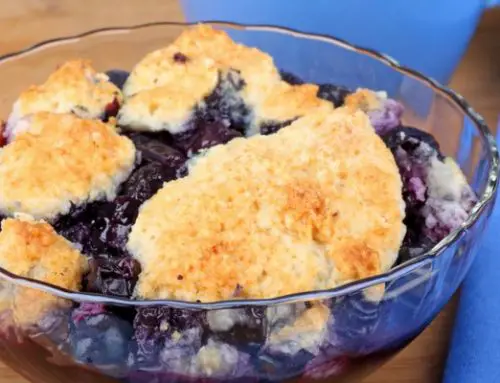
Recipe and image courtesy of Tablespoon

Leave A Comment